Natural Light vs Kitchen Lights: What Actually Works
Your kitchen's fluorescent lights are killing food photos. Learn which lighting setups make dishes look appetizing and which make them look like hospital food.
Why Your Kitchen Lights Make Food Look Terrible
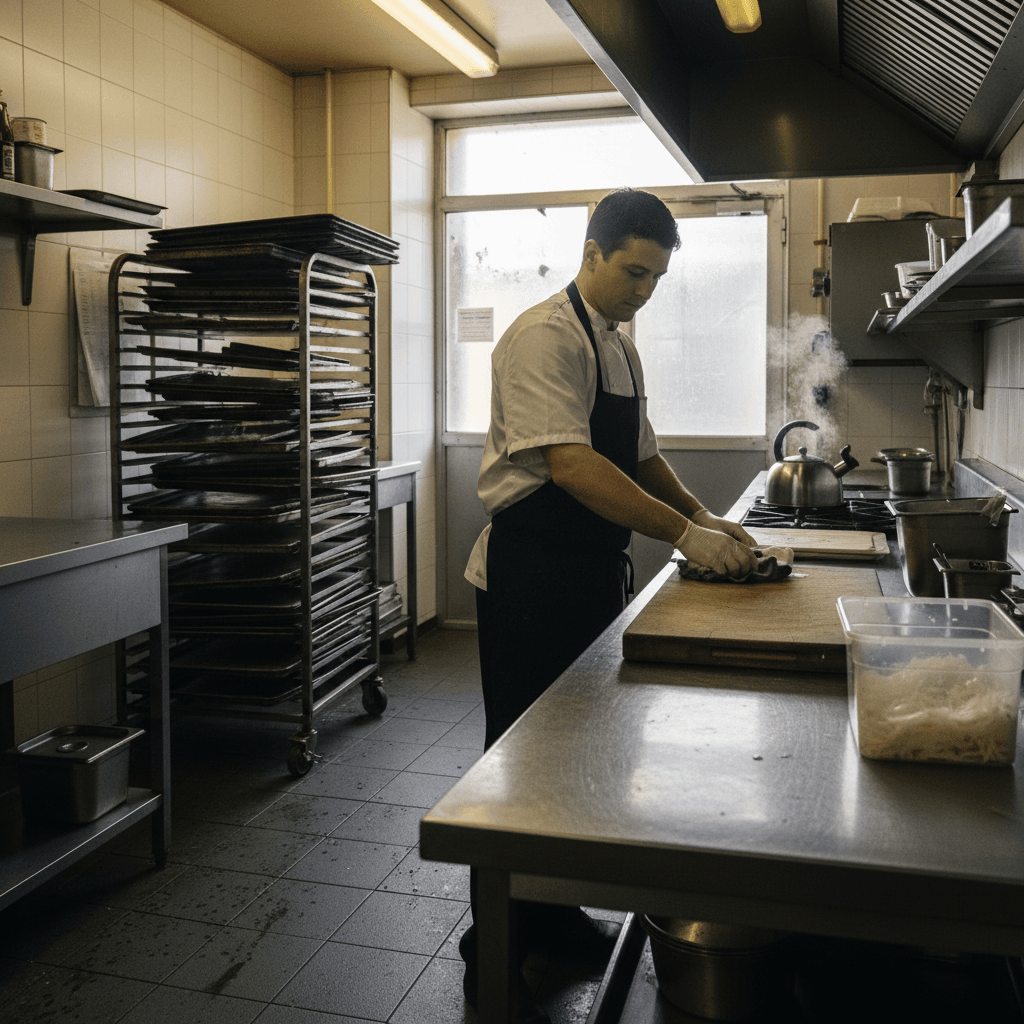
Natural Light vs Kitchen Lights: What Actually Works becomes clear the moment you watch a server try to photograph the special. It's Friday night, the expo is calling three orders at once, and the server is holding their phone over a beautiful $28 steak. Under the harsh overhead fluorescents, the sear looks gray, the herbs look dull, and the whole plate looks flat. The problem isn't your phone camera. It's the lighting designed for safety and sanitation, not for making food look appetizing.
Those bright kitchen lights eliminate all shadows. Shadows are what create depth and show texture. Without them, a crispy piece of skin on a chicken breast looks smooth. A stack of pancakes looks like one solid mass. This visual flattening happens every single service, turning vibrant dishes into something that resembles hospital food on a screen. For a complete system to fix this from prep to posting, our guide on Phone Food Photos That Actually Sell breaks down the entire workflow your staff can use.
The Rule: Kitchen lights are for working. They are not for photography. Accept this fact and stop trying to fight it during service.
Morning Prep Light Is Your Secret Weapon
Once you accept that kitchen lights ruin photos, the solution appears during a quieter time. The best food photos in your restaurant will happen before customers arrive.
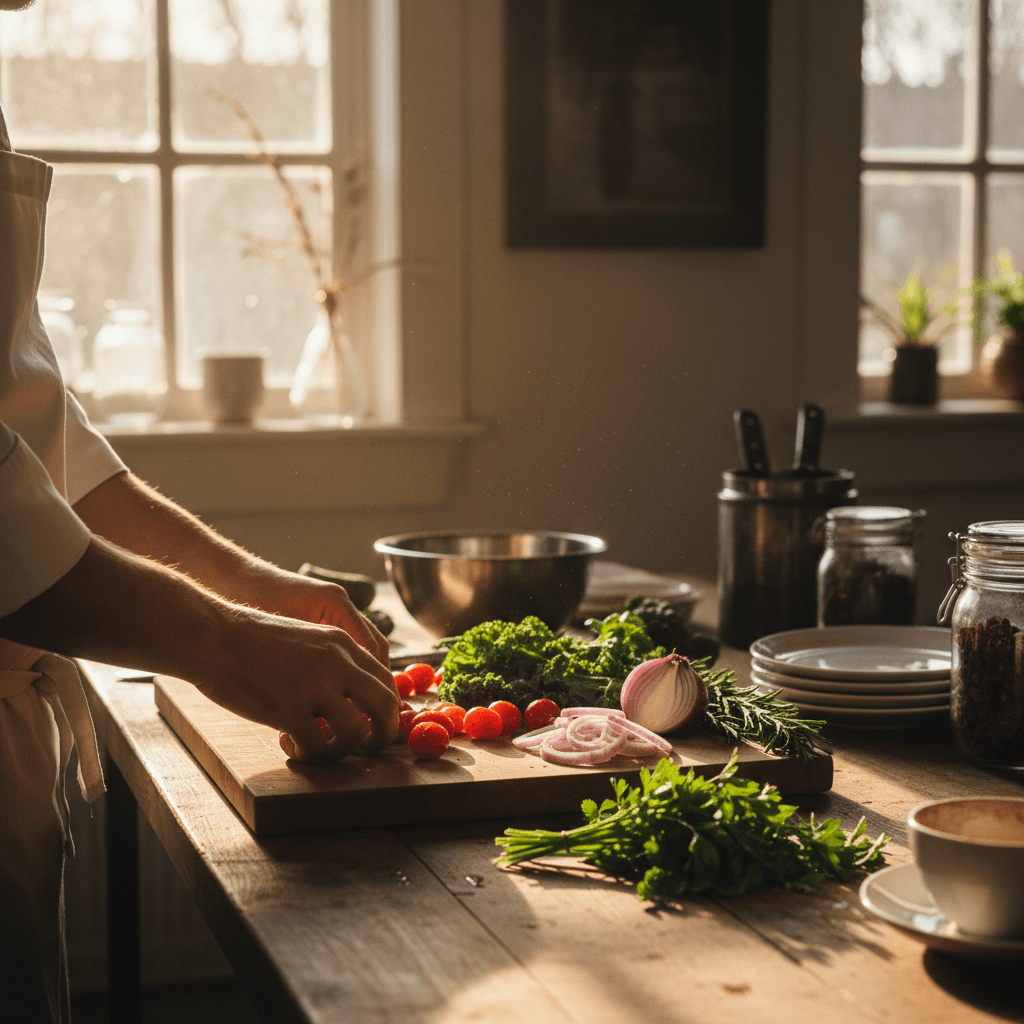
Hard truth: You cannot get great photos during the dinner rush. The chaos is your enemy. The secret weapon is the natural morning light streaming through your kitchen's back door or dish window. This light is soft, directional, and creates those gentle shadows that define texture. A ripe avocado's bumpy skin, the flaky layers of a croissant, the glisten on a piece of salmon - morning light shows it all.
Here is your manual fix. During morning prep, identify one station near a natural light source. It could be by the receiving door, a window near prep sinks, or even just inside the back entrance. When a cook finishes plating a new special or a perfect batch of fries for quality check, they move it to that station for 30 seconds. They take two photos - one from directly above, one from a 45-degree angle. Then they put the dish away and continue working.
This process adds almost zero time to prep but captures the dish in its best possible light. You are using time you already have (prep hours) to solve a problem that explodes later (bad photos during service).
When Natural Light Isn't Available
Some kitchens have no windows. Your prep area might be in a basement or an interior room with zero access to daylight. This doesn't mean you surrender to the fluorescents.
You use what you have. Walk your kitchen before service and identify every light source. You are looking for warm-toned lights, not cool ones. Most overhead fluorescents cast a blue or green tint that makes food look dead. Look for tungsten bulbs - often found under hoods, in pass-through areas, or in manager offices.
Position your test plate directly under one of these warmer lights. Avoid mixing light sources. If your plate is half under a warm tungsten and half under a cool fluorescent, the color will be wrong and impossible to fix.
Create simple tools with what's on hand. Take a large sheet pan and line it with aluminum foil, shiny side out. Prop this up across from your warm light source. This acts as a bounce card, reflecting light back onto the dish to fill in harsh shadows on the opposite side. No fancy equipment needed, just items from your dry storage.
The Real Bottleneck: Consistency During Service
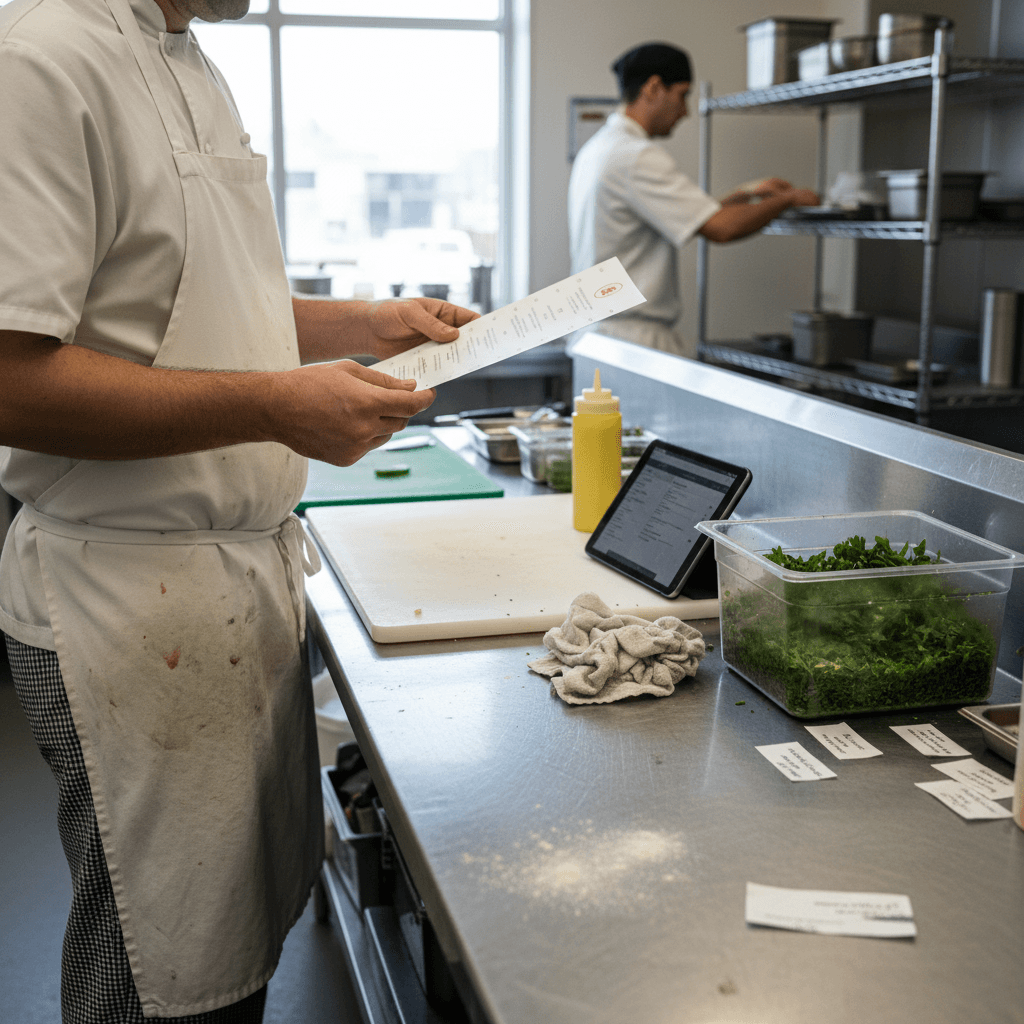
Morning prep solves the hero shot of your specials. But what about the 7 PM ticket when a customer wants to see the burger before they order? You cannot stop service for perfect lighting.
This is where training creates consistency out of chaos. You must give your staff a plan that works with your kitchen's permanent, terrible lighting.
Train every server and manager on three consistent angles that work in your space.
- The Top-Down Pass Shot: Hold the phone directly over the pass as expo sets down a finished plate. Capture it before it leaves.
- The 45-Degree Side Shot: Crouch down to plate level near the warmest light source you identified (often under the heat lamps at the pass).
- The Detail Shot: Get close to one perfect element - a cocktail garnish, a dollop of sauce, the sear on a scallop.
Create a 'photo station' that takes 30 seconds to use. This is not a separate room. It is simply the best spot you have identified - maybe the end of the pass under a specific light, with your foil bounce card pre-positioned on a shelf below. When an order for photography comes in during service, expo places the finished plate there for half a minute before running it.
The Rule: During service, speed and consistency beat perfect lighting every time.
Better Photos Start Tomorrow Morning
Theory means nothing without action tied directly to your kitchen's layout.
Your test happens during tomorrow's prep hours.
- Take one dish - something with color, texture, and height.
- Photograph it in three different spots: under your main kitchen fluorescents, by your best natural light source (if you have one), and under your warmest alternative light (like under the pass).
- Look at those three photos side-by-side on your phone.
You will see an immediate difference that no article can fully describe. The photo under natural or warm light will look like food you want to eat right now. The photo under fluorescents will look like food you have to eat.
This five-minute test proves everything and gives you your actionable plan: you now know exactly where in your kitchen to stage photos during prep and where to direct staff during service.
Manual processes get you 95% of the way there by changing behavior and using existing resources smarter.
For that last 5% - managing these photos across devices, getting them posted quickly to social media or digital menus without fumbling with cables and uploads - modern restaurant platforms can automate the workflow. They can take images captured on any staff phone and instantly sync them to where they need to be, removing friction so your team focuses on taking good pictures rather than managing files.
Taking the Next Step
Better food photography is not about buying expensive cameras or taking hours out of your day. It is about recognizing that your kitchen lights work against you and using simple strategies to work around them during prep and through service training.
The logic is clear: capture beauty during calm morning light because you cannot create it during chaotic dinner service.
See how integrating this visual strategy into your daily operations can work for your restaurant by checking view our pricing options designed for busy kitchens like yours, or start a free trial tomorrow and begin testing these lighting setups alongside your next prep list